Winter in Central Alberta can be very angry and very harsh…sort of like a rash with a migraine chaser. In other words, Sister Spring needs to literally kick the stuffing out of King Winter so that Easter can bloom.
For the past 9 years, I have been dreaming of a sunny Easter for Piper so that she can hunt for Easter eggs outside. It has not happened. Grrr!! In fact, as I look out my front window at the April snow gently falling to the ground, I daresay she ever will.
Easter is a beautiful time of year where crafting becomes a large part of our lives once more. In the past, we have wet felted eggs in the washing machine, needle felted bunnies, and dyed eggs (with chemical dyes from a store).
This year my good friend, Amanda, gave me the idea to decorate our eggs with plant dyes. Brilliant!

These plant dyed Easter eggs turned out amazing!
For dark pink, I juiced 4 red beets in order to remove the pulp. The result was 140 mL of juice, so I placed all the juice with 30 mL of vinegar in a glass jar.
For yellow, I boiled 140 mL of water, poured it into a glass jar, and then added 45 mL of ground turmeric. I stirred 30 mL of vinegar to the concoction and waited for it to cool.
For light orange, I boiled 140 mL of water, poured it into a glass jar, and then added 45 mL of ground paprika. I stirred 30 mL of vinegar to the solution and waited for it to cool.
For blue, I mashed 375 mL of frozen and fresh blueberries to a pulpy consistency and poured it into a glass jar. Then I added 30 mL of vinegar to it.
For some of the eggs, Piper and I deliberately cracked them, and for others we left plain. Then for an added experiment, I secured some of the eggs inside old nylon pantyhose and knotted them.

The plant dyed cracked eggs were my favourites.
Piper and I placed each of the boiled eggs in the plant dye jars and set them in the fridge for 24 hours. The results were so beautiful!
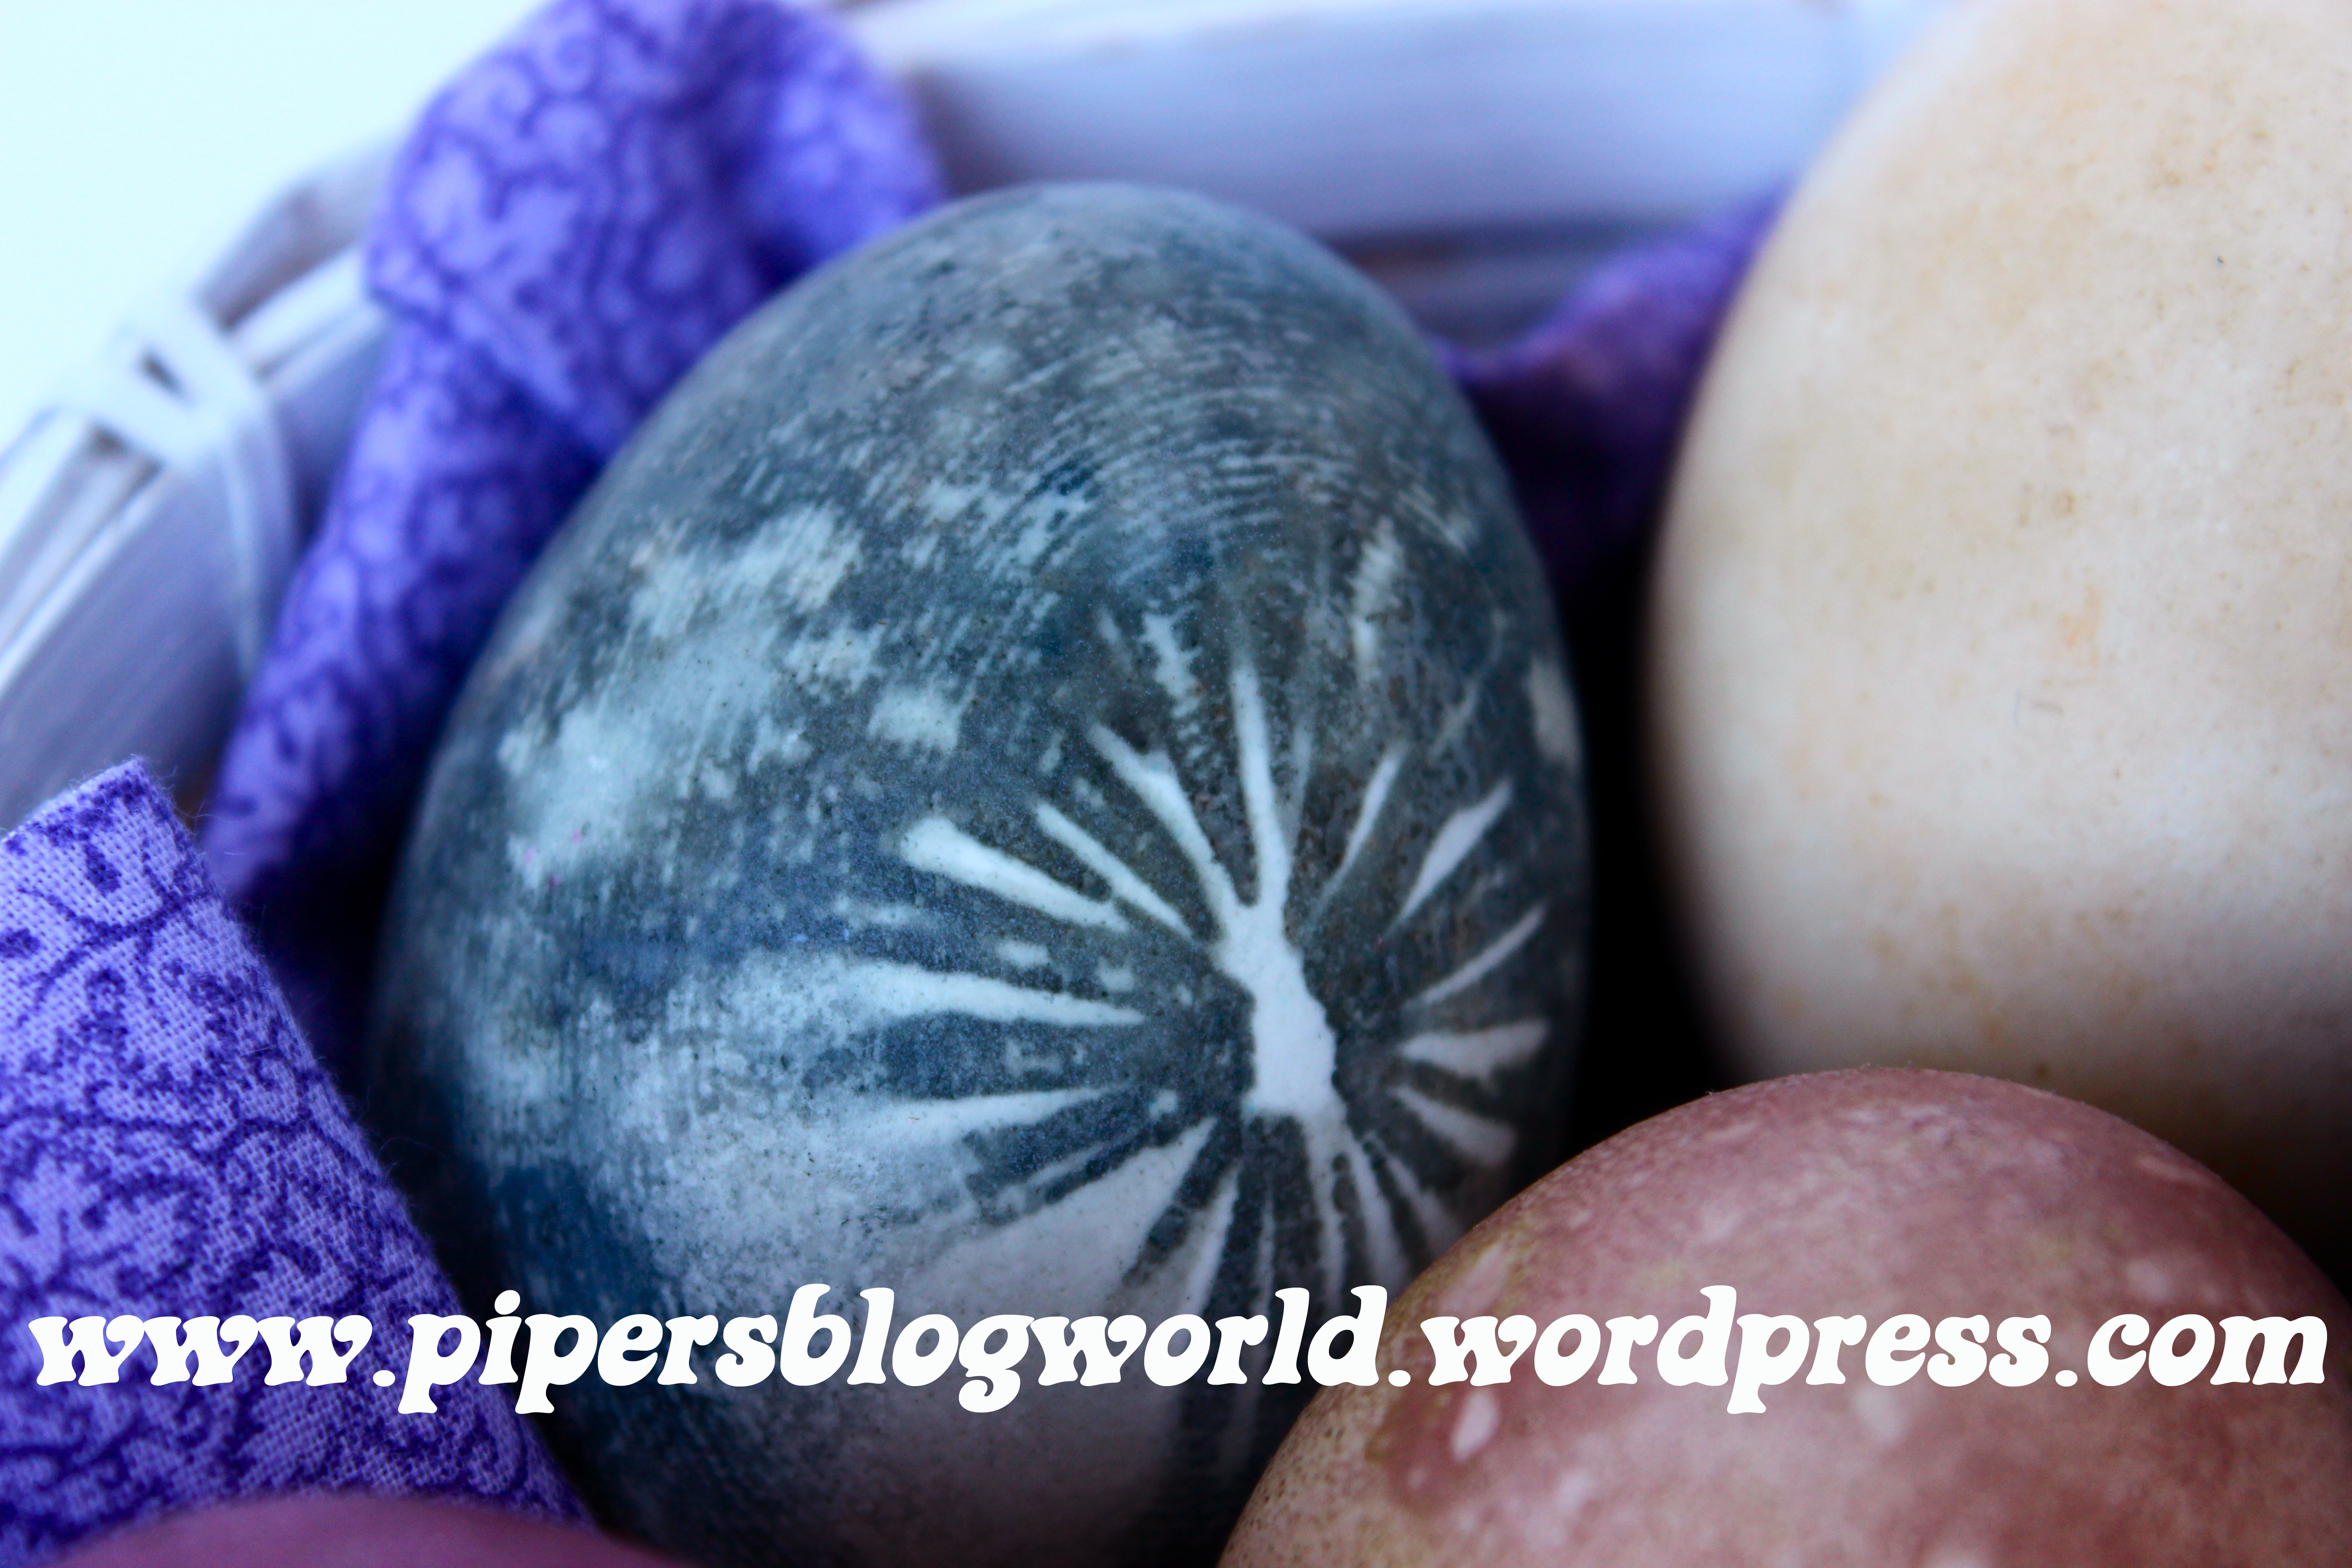
The knot from the pantyhose left a beautiful mark which looks like a flowering pansy.
We then compared them to chemically dyed eggs. Piper and I both agree that the plant dyed eggs were far more interesting, gorgeous and fun to do!

Plant dyed eggs are far more interesting than store bought chemically dyed eggs.